This post is VERY late! While I was putting photos on our blog, I ran into these photos and had to share. I think I posted a few pictures on Facebook but not the whole story....
I have had the idea to make the bottom half of Tryg's closet into a fort for a while now. I always wanted a cool spot to hang out in when I was a kid, so I knew I wanted to do it for my kid(s) someday! In April I had some extra vacation days that I needed to use up before I 'lost them' when I go on maternity leave (any day now). So, I took a day off and our friend, Brad had a day off too. He came over to help me make the fort a reality! I LOVE it and I am so glad we did it! Tryg loves it too. Now that he's in a 'big boy bed' we often hear him playing in his fort at night, instead of sleeping. Little stinker! However, I secretly love it. :)
Step 1: Buy wood from Home Depot and have them cut it. We got beadboard for the front, plywood for the top and some trim pieces.
Step 2: Paint the wood ahead of time. We painted ours the night before assembly and I just did touch ups once we were finished putting it together.
Step 3: Use 2x4s for braces in the front and back of the closet.
Step 4: Layout top board and hinges to see how they will fit (dry fit). We decided it was a good idea to put the front piece on hinges in case we ever needed to get into the bottom half of the closet. It just lifts up from the bottom (we put two "hook and eye latches" on the bottom to keep it shut --however, the toddler often unlatches them).
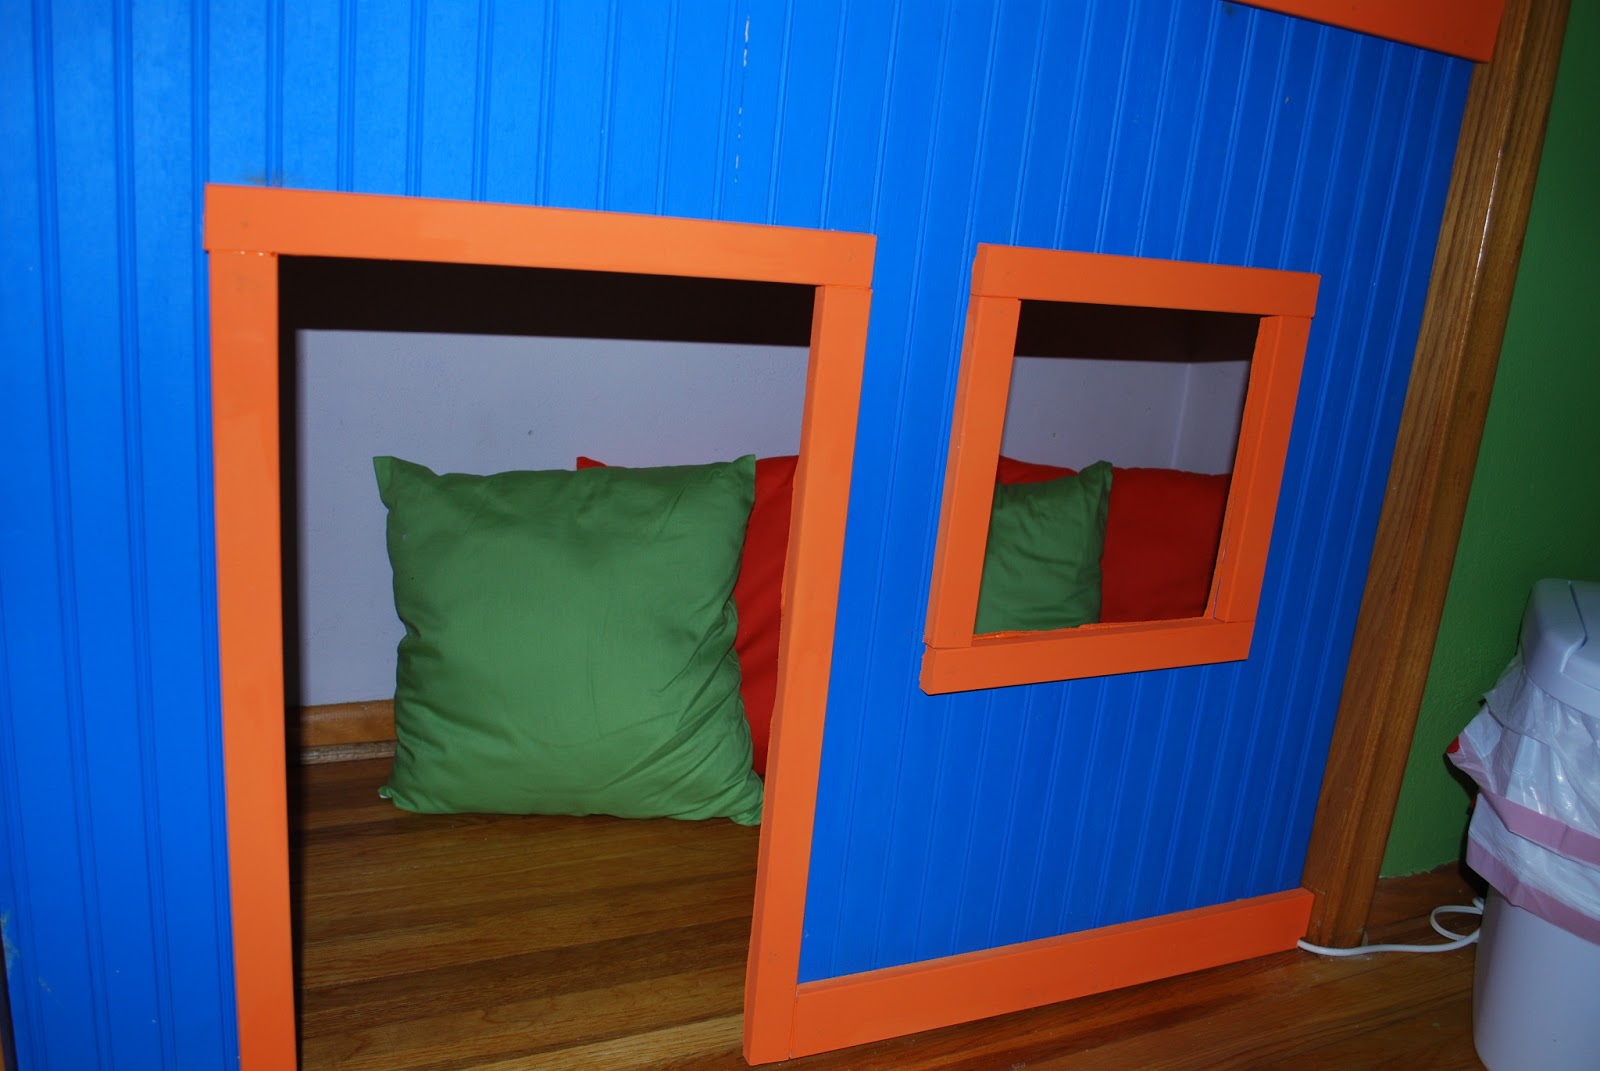
Step 5: Cut the window and door holes in the beadboard.
Step 6: Add trim pieces around window, door, top and bottom of front (not pictured).
Step 7: Add hinges to back of the front beadboard.
Step 8: Secure hinges to front brace piece.
Step 9: Attach rope lights around the top (inside) for lighting.
Step 10: Put on the top. (we just set it on the top and didn't attach it)
Step 11: Add a curtain to the top to keep the clothes and shelves 'hidden.'
Step 12: Add pillows to make it a little more comfy (we also added a sleeping bag later because the hardwood floors are, well, hard.).
Step 13: Show it to your son and let him go nuts! :) He loves it!
Thank you "Uncle Brad" for all of your hard work! It's wonderful to have the 'idea in my head' become real! So glad we finished it in one day. We love it!


No comments:
Post a Comment